Rhino Ramps 11912ABMI (16,000 lbs GVW) ► Check Amazon
Race Ramps RR-30 Rally Ramps ► Check Amazon
Watch the review on the DIY Apprentice YouTube channel:
Hey, everyone. I’m out here in the garage today, and I’ve got my car ramps here…and I thought about doing a simple video on using car ramps, but as I got more into the subject, I decided to do a lot more comprehensive video.

So, we’ll be touching on several things today.
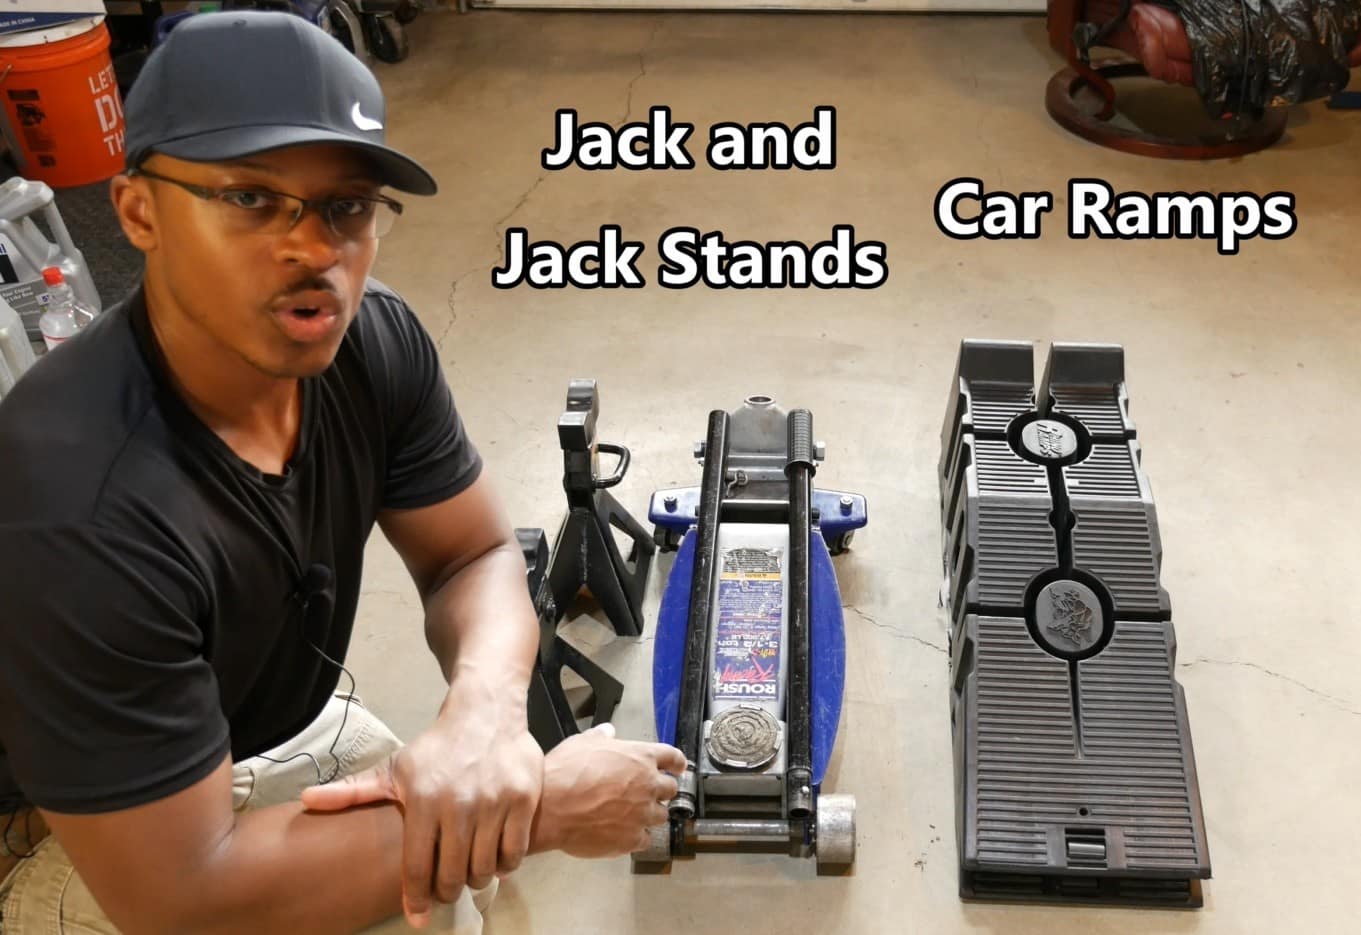
The first thing we’re going to talk about is using car ramps versus using jack stands and when I prefer to use one over the other…you may be able to get away with just using car ramps for your particular purposes.
We’ll also talk a little bit about the various styles of car ramps that are available out there. I’m not going to touch on every single style, but we’ll talk about some of the more popular styles that are available.
…and then we’ll get into some of the precautions that I like to take when I’m using car ramps… and maybe a thing or two you haven’t thought of, so stay tuned for that part of the video.
The last thing we’ll touch on…we’ll do a review of these car ramps and a quick demo. So, we’ve got a lot to cover today, so stay tuned…
Ramps vs. Jack Stands
So, for the average DIY’er, there are a couple different options…the most cost effective options…when it comes to getting your car in the air to do any sort of maintenance or repair work on it. So, we’ve got the jack and jack stands and then we’ve got some car ramps. So, let’s talk through some scenarios of when you would use one over the other…and this decision really isn’t that difficult, but I just thought I’d throw this out there just to make sure we cover our bases here.
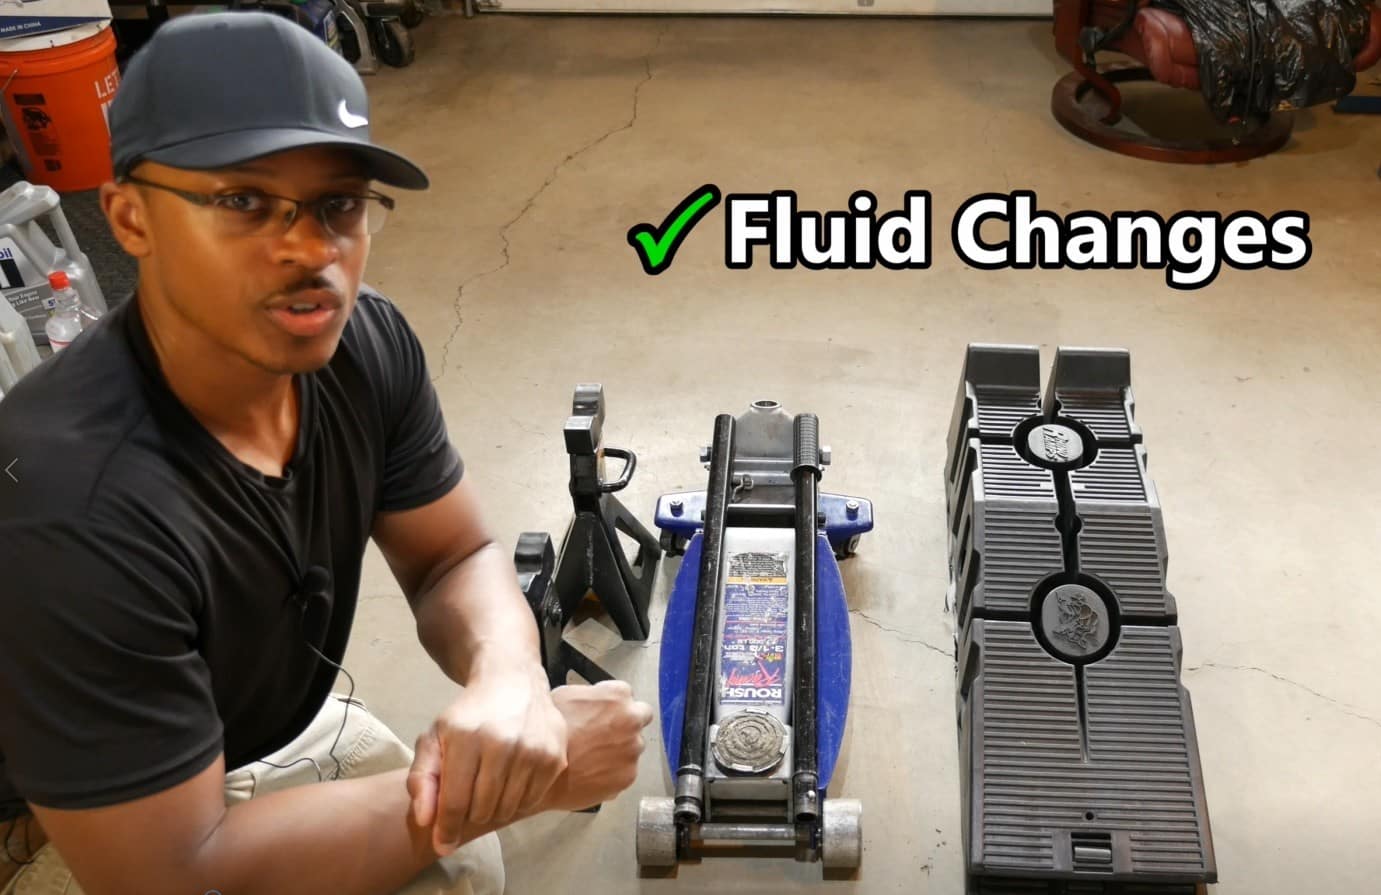
So, let’s start first of all with fluid changes…so, if you’re doing an oil change or a transmission fluid change or some sort of a differential fluid change…or maybe you’re doing a coolant change, then you can get away a lot of times with using just car ramps.
If you’re doing some sort of a front an inspection on your car and maybe just want to take a look, and make sure it’s not leaking anywhere, a lot of times you can just use car ramps for that.

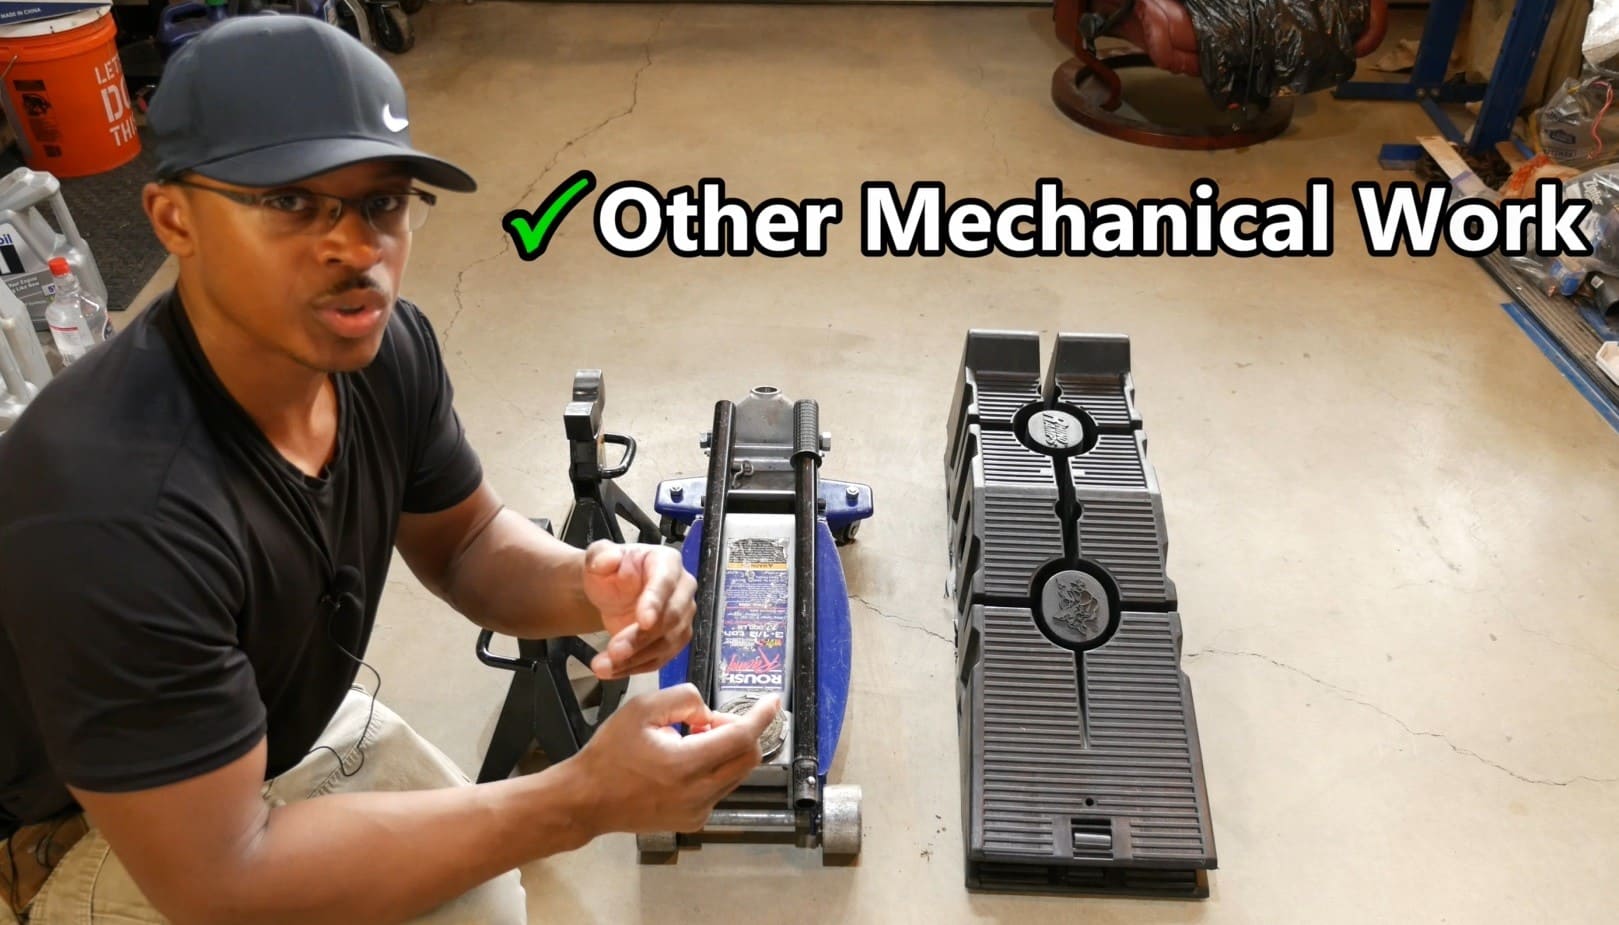
…and then for any other mechanical work where you have to remove the front wheels or where you need to get really far under the car, then a jack and jack stands are going to be your best bet in that case.
Important Considerations
So, one of the most important factors when you’re looking at which ramps to buy is the angle of approach of your particular vehicle. So, what I mean by angle of approach is the angle at which, when you’re driving up the ramp, the front of your car is going to barely scrape on the ramp.
So, on the race ramps website, there’s this really cool yardstick test you can do…so we’re going to step right through this.
https://www.raceramps.com/angleofapproachcalculator.aspx
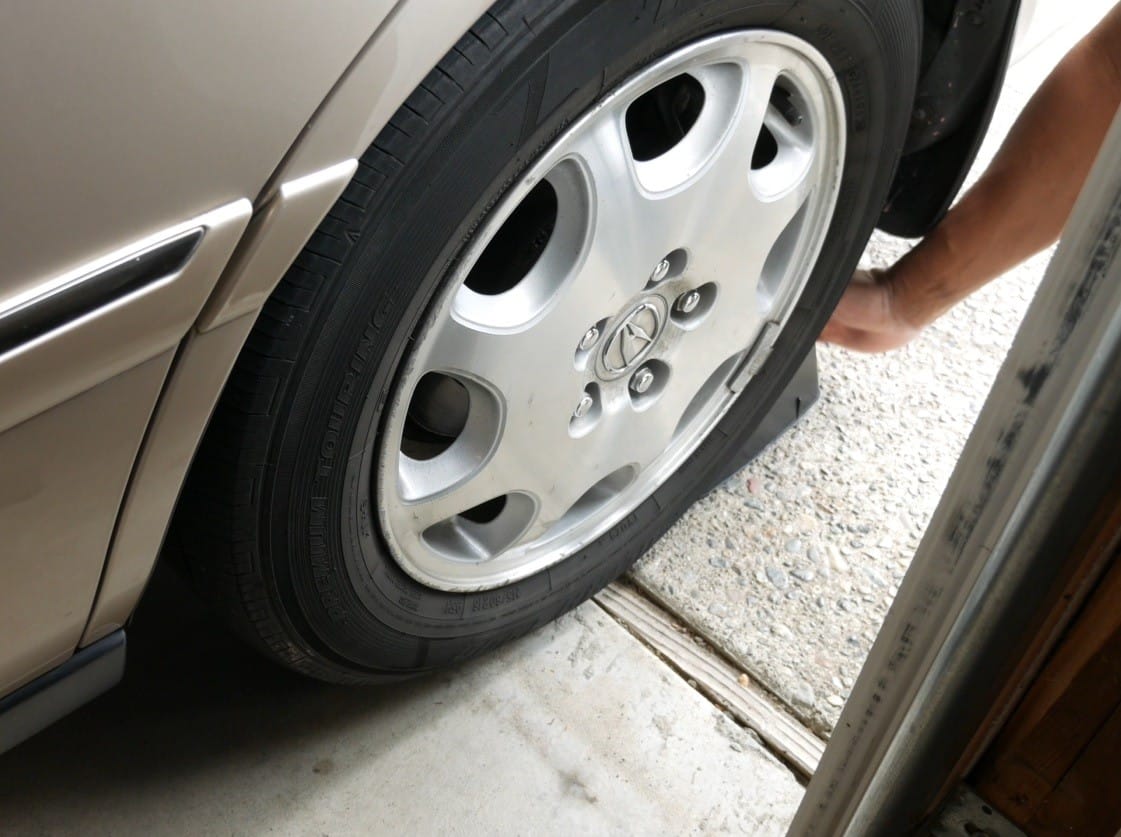
The first step is to place a 36-inch yardstick or tape measure at the base of your front wheel
…and then we’re going to do is raise that yard stick up until it touches the front of your car
…then once it hits the front of your car, what you’re going to do is take a measurement from the ground to the end of that yard stick and record that measurement. So, I’m going to plug in 10 inches in this calculator here…then I’m gonna click on calculate…and it says your maximum angle of approach is 16.1 degrees
…and what Race Ramps does, in addition to that, is show you all the ramps that meet that angle of approach or are less. So, for example, these are all the ramps here that meet the 16.1-degree criteria or have an angle of approach of less than 16.1 degrees.
You’re going to want to keep in mind some of the other factors, of course, and that includes the maximum tire width…and of course, the most important factor is going to be the amount of weight the ramps can support.
Car Ramp Styles
Alright, so let’s take a look at some of the styles of ramps that are available out there. I’m going to touch on just three here…
So, we’ll start first of all with these solid steel ramps…these happen to be a Harbor Freight brand…and I’ll click on this picture here so you see a little bit better view of it…and let’s go ahead and scroll down and take a look at some of the features and specifications of this product.
So, we’ve got a 6500-lb. gross vehicle weight…2000 lbs for per ramp…durable powder coat finish. It’s got these raise safety ribs on the sides and punched and extruded traction holes on the incline…and these are about 35 inches long. Maximum lift height of 8 inches…and these are going to be a little bit heavier than the other ramps we’re going to look at. You can see right here…product weight is 31 pounds and they support up to a 9-inch wide tire…so that’s the steel ramps.
https://www.harborfreight.com/solid-steel-auto-ramp-set-63250.html
Let’s go ahead and move on next to our plastic ramps. So, these are the Rhino Ramps… the 11909…the 12,000-lb version…and these are the ramps that I have that I’m actually going to review later on…so, we’re not going to talk a whole lot about that here… and they also have a 16,000-lb version – 11912.
http://www.flotool.com/lift.html
…And let’s move on to the last one, which is going to be our rally ramps by Race Ramps…and the one that I’m looking at here is the 30-inch Rally Ramps with a 5-inch lift…and they’re good up to about 8-inch wide tires. So, it’s got a really cool design.
https://www.raceramps.com/garage-service/ramps/rally/p/RR-30/
Let’s scroll down and take a look at some of the features. We’ve got an angle of approach of 16 degrees…also known as angle of incline. They have an anti-slip/skid material.
Weight capacity is 1500 pounds per ramp…they’re also made out of an exclusive high-density foam…so these are 100% solid ramps… and they are lightweight, too… they only weigh about 4 lbs per amp…so, that’s the race ramps…and what I would do if you’re interested in one of these ramps…I would come over here and click on this link that says “Need help use our ramp calculators”, just to make sure you get the right ramps for your vehicles.
Precautions
Let’s talk about precautions when using ramps:

…and number one on my list is going to be to check the condition of the ramps, and in the case of the plastic ramps, what we’re looking for is cracks or any evidence of collapsing…and I do this check before every single use.
Second on my list is making sure that I’m using the ramps on a stable, flat and level surface…I think that’s pretty self-explanatory…you don’t want to have any sort of issues happen to your property or to your car because you’re not using the ramps accordingly. Now, if we’re talking about a flat gravel driveway or an aggregate driveway, I’d consider placing a sheet of ¾-inch plywood under the ramps to smooth out that surface.
Next, and one that isn’t mentioned often, and with which I’ve had personal experience, is using the ramps on a dry surface…and that includes also making sure your tires are dry. So, if you’re pulling your car into the garage on a rainy day, I would make sure the floor is dry AND wipe off the front tires before driving onto the ramps.
Lastly, and one that I’ll demonstrate later, is to place wheel chocks behind the rear wheels as a secondary means of support.
Rhino Ramps 11909 Review
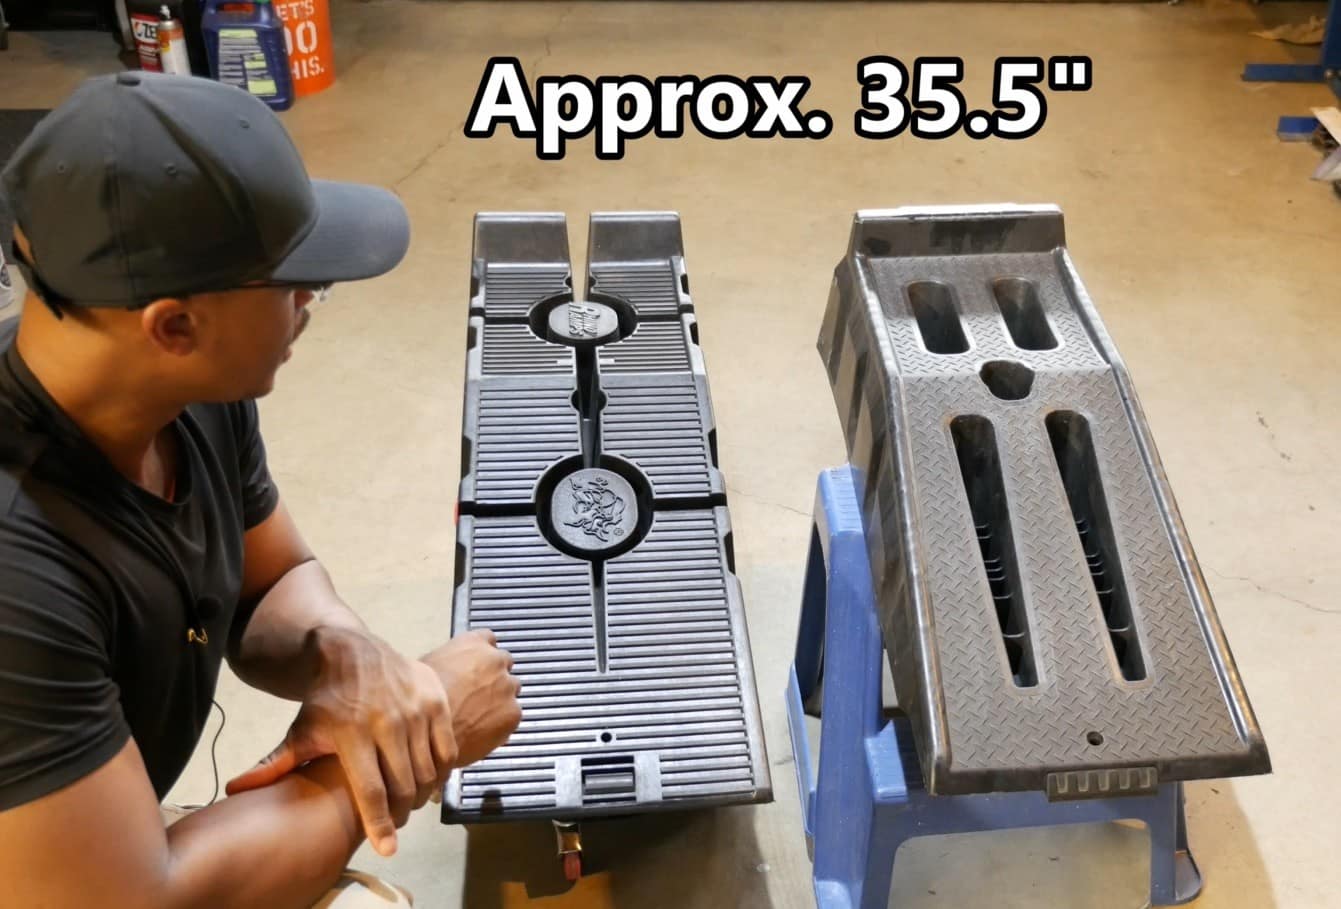
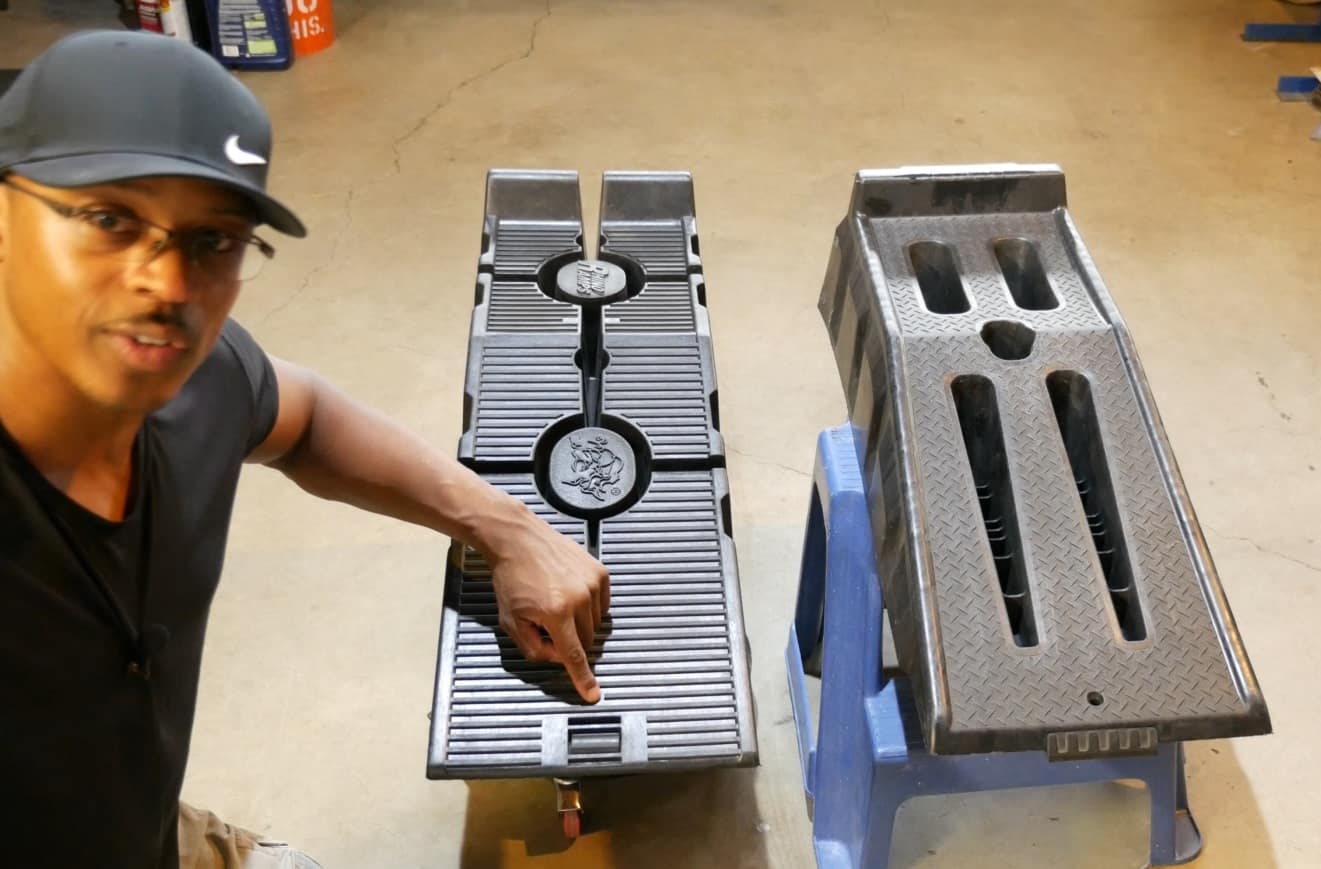
Alright, so while we’re reviewing this ramp here, we’re going to compare it to my old ramp…and the reason why I mentioned that is they’re made by the same company.

So, let’s start, first of all, by looking at the new ramp. This is the Rhino Ramps 11909…this is the 12,000-lb gross vehicle weight version. So, what that means is that each one of these ramps can support 3000 pounds.

If you look at them side by side, you’ll see that they’re pretty much the same length at roughly around 35-1/2 inches. They are also the same height from the ground up to about here…that’s about 6- 3/4 inches. From the ground up to this stop here is around 8-1/2 inches. The angle of incline, which is the angle you’ll drive your car up onto the ramps, is about 17 degrees on both ramps.

So, that’s kind of where the similarities end with these 2 ramps. We’ll take a little bit closer look at this one first of all…you’ll see it’s got a lot of relief cuts in it, so that helps the ramp to flex a little bit so it doesn’t crack quite as easily as this one.
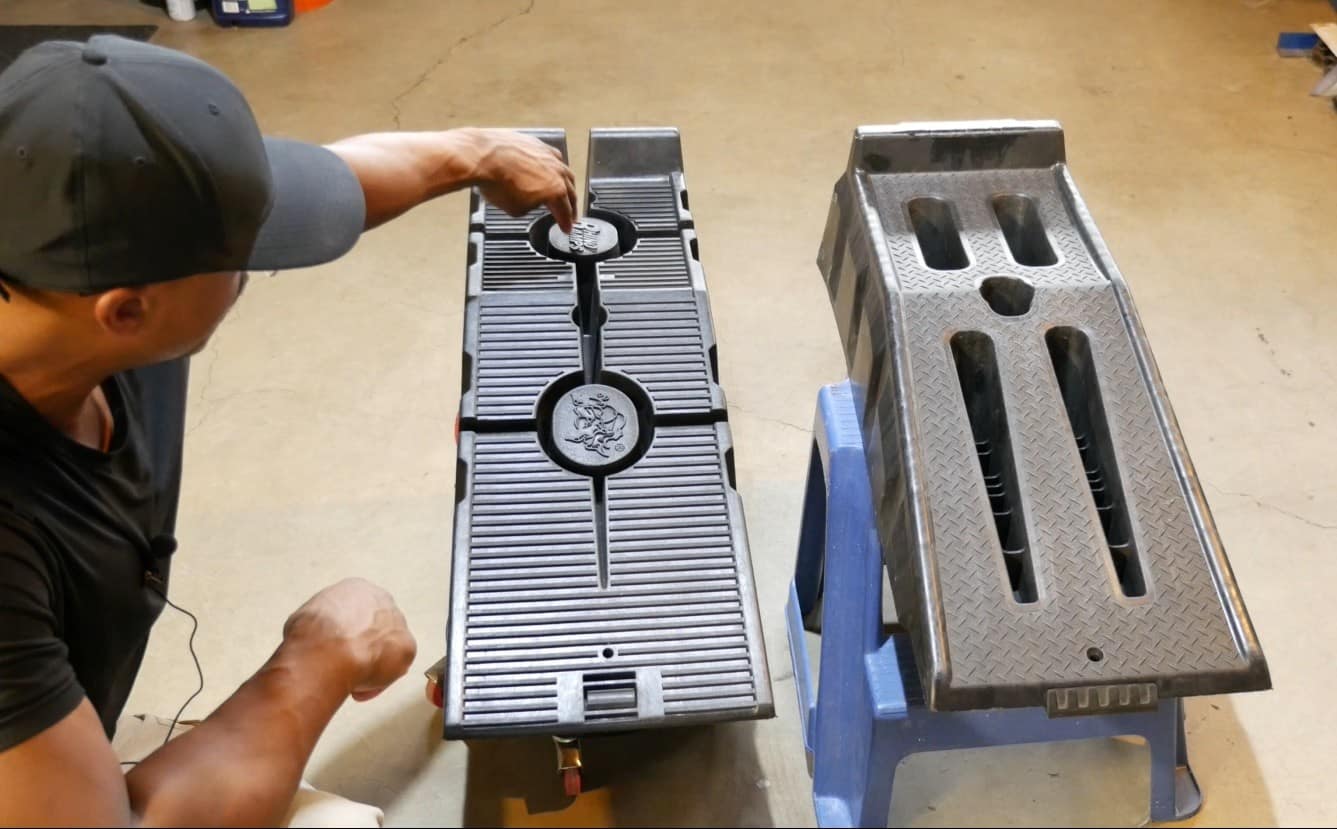
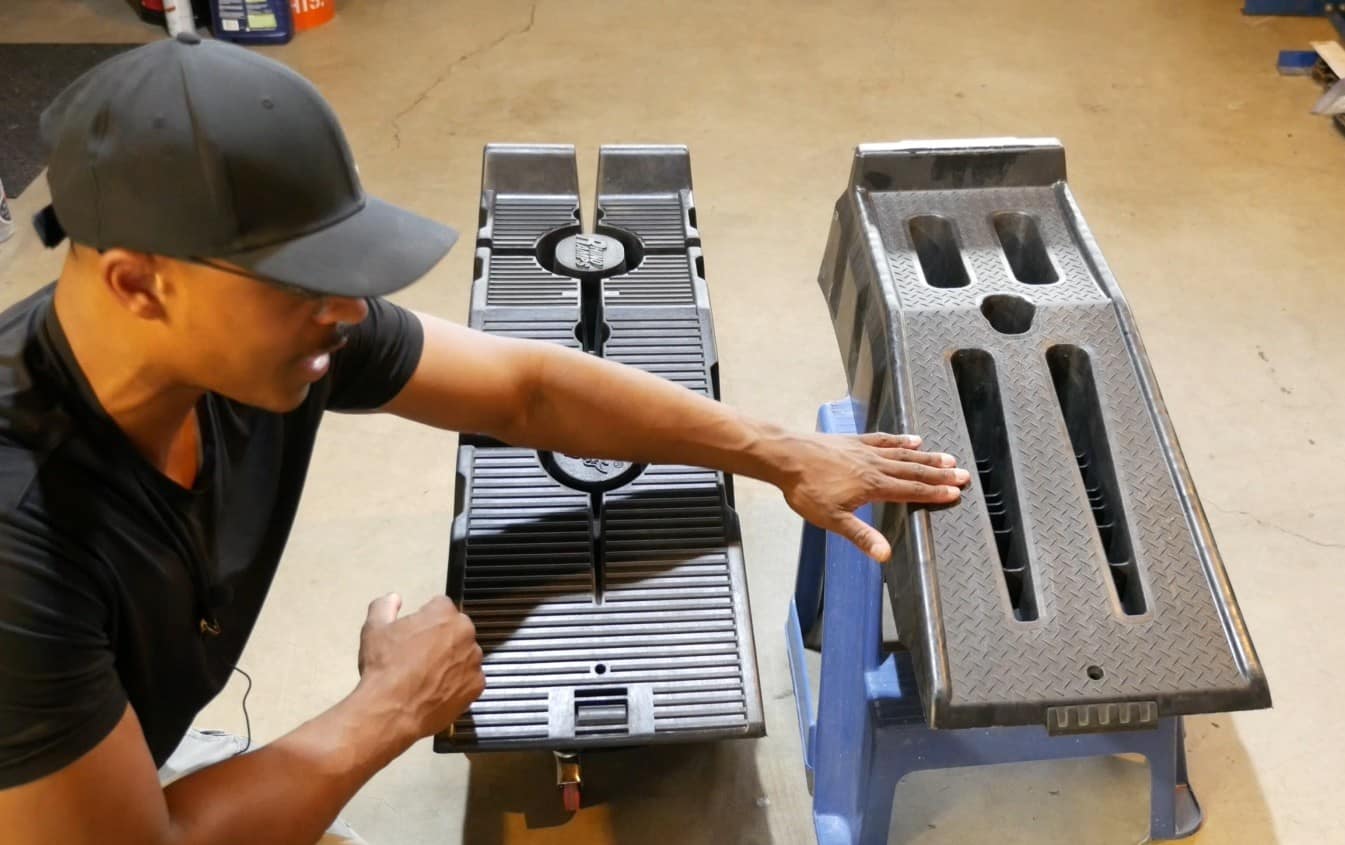
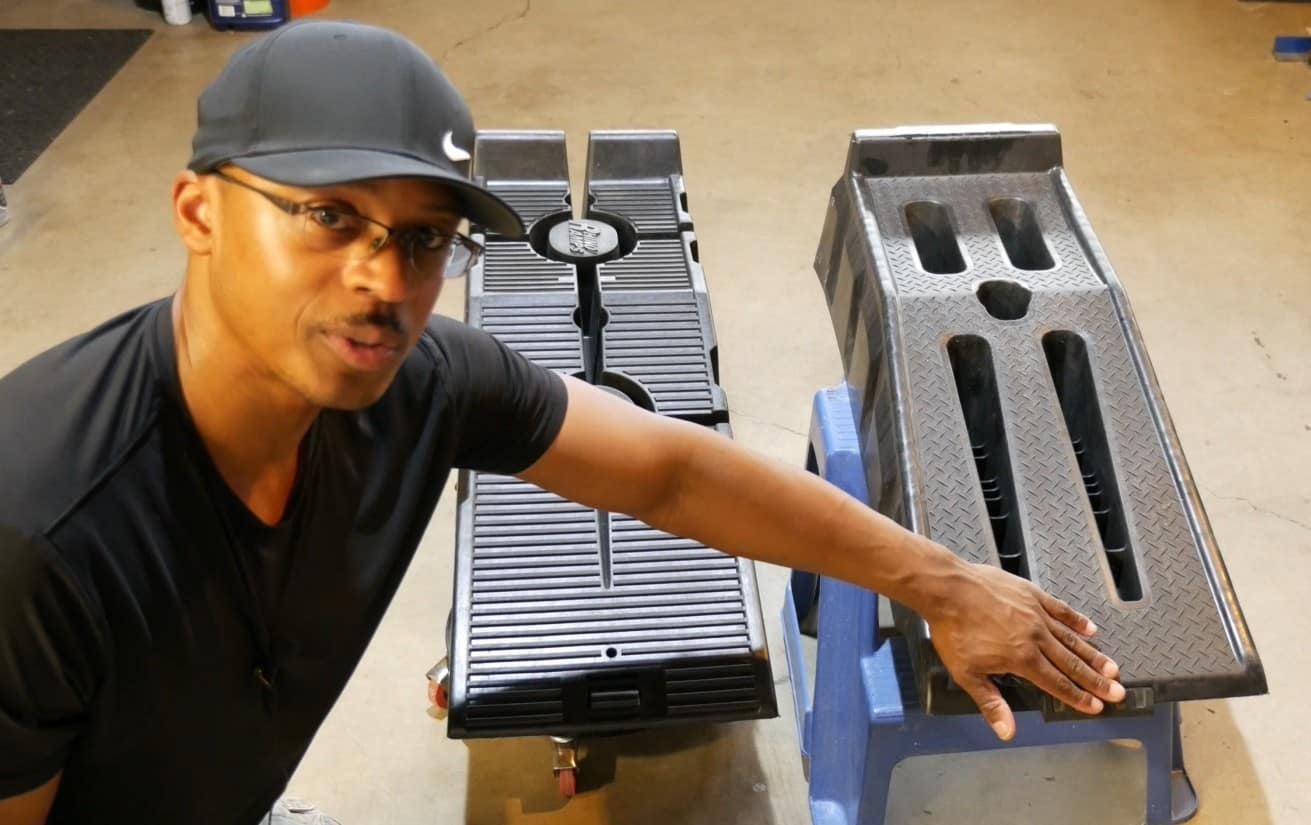
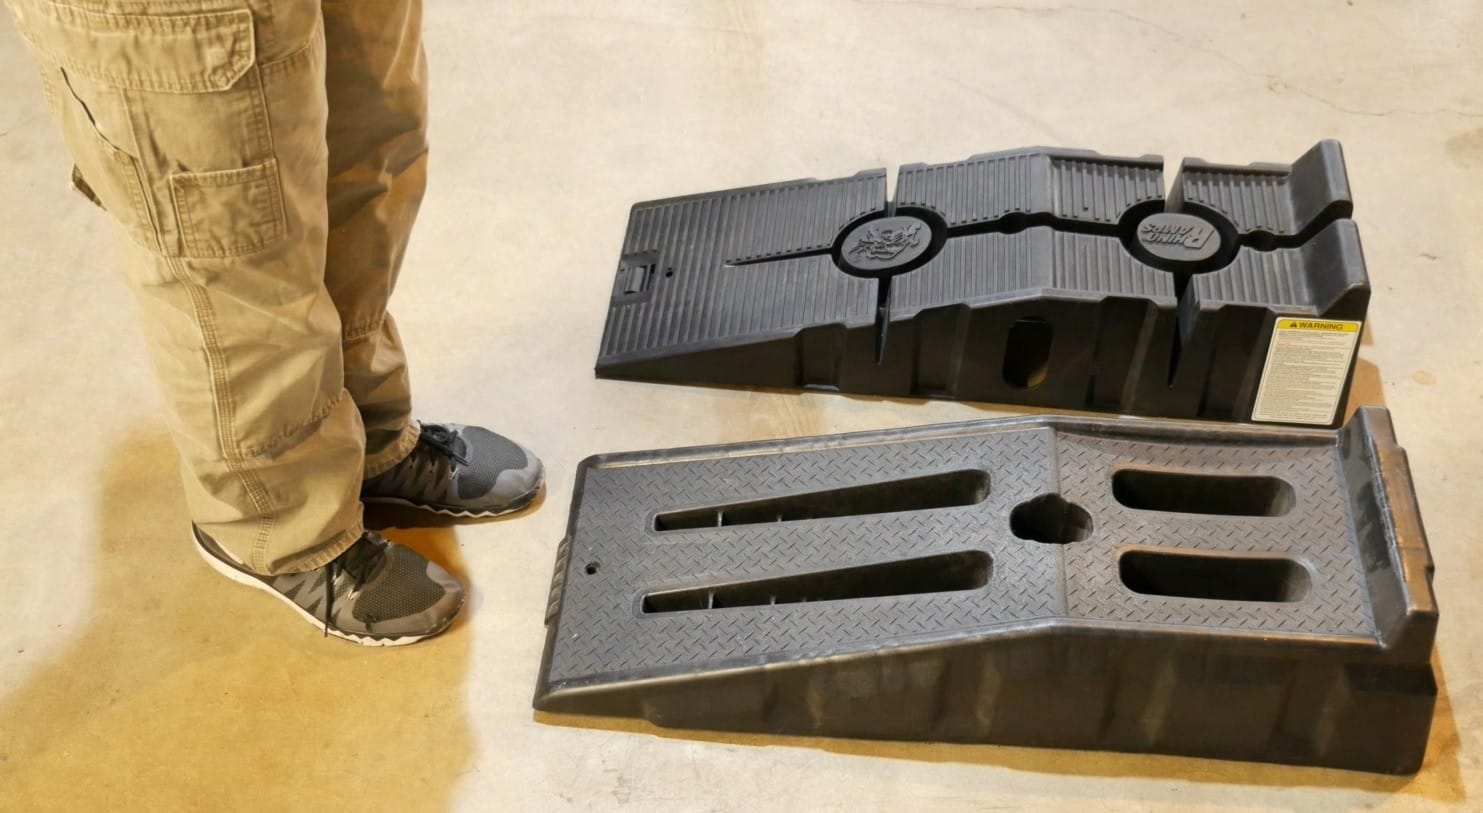
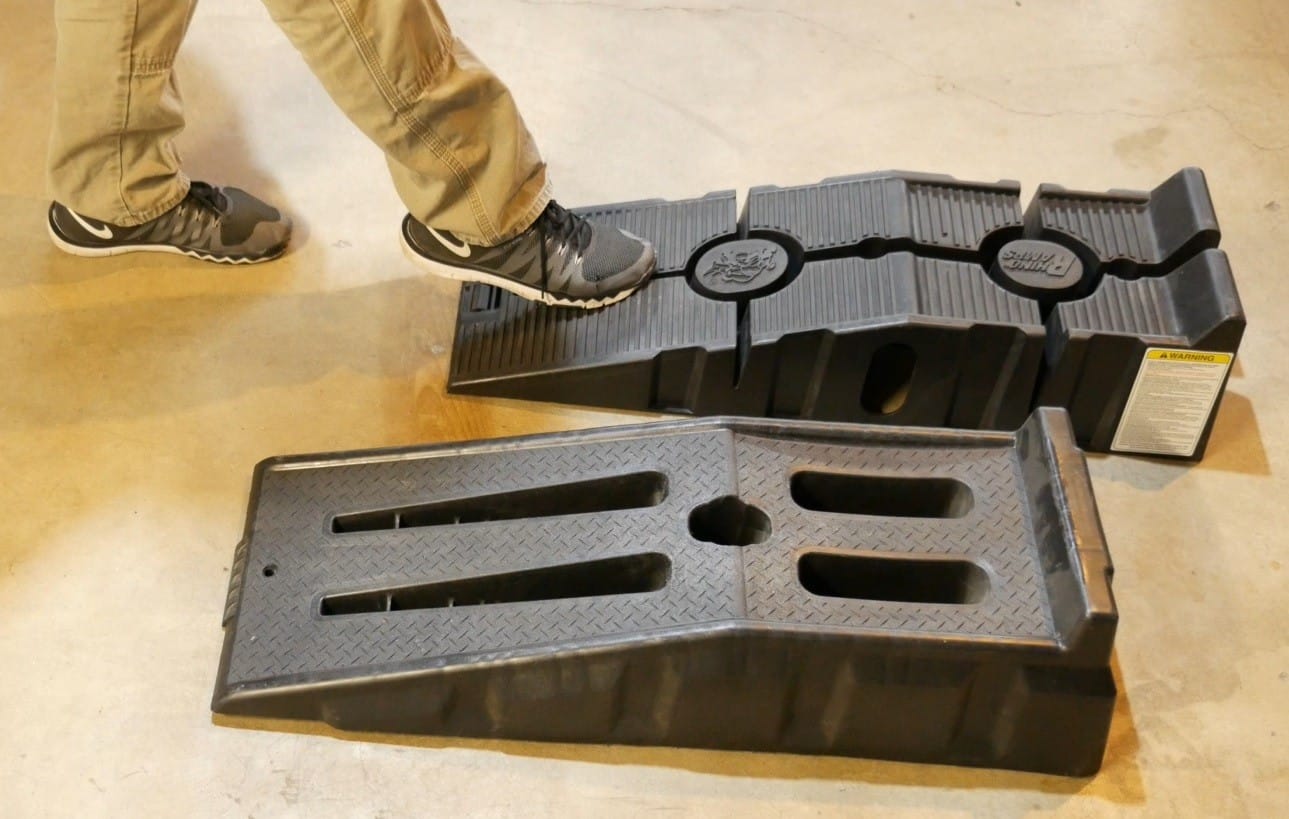
If you look at the tread design of these 2 ramps, this one’s got more of a horizontal tread design and this one’s got kind of a diamond plate pattern…and just kind of running my hand over it, I guess as a simple test, this one seems like it’s less slick than this one here.
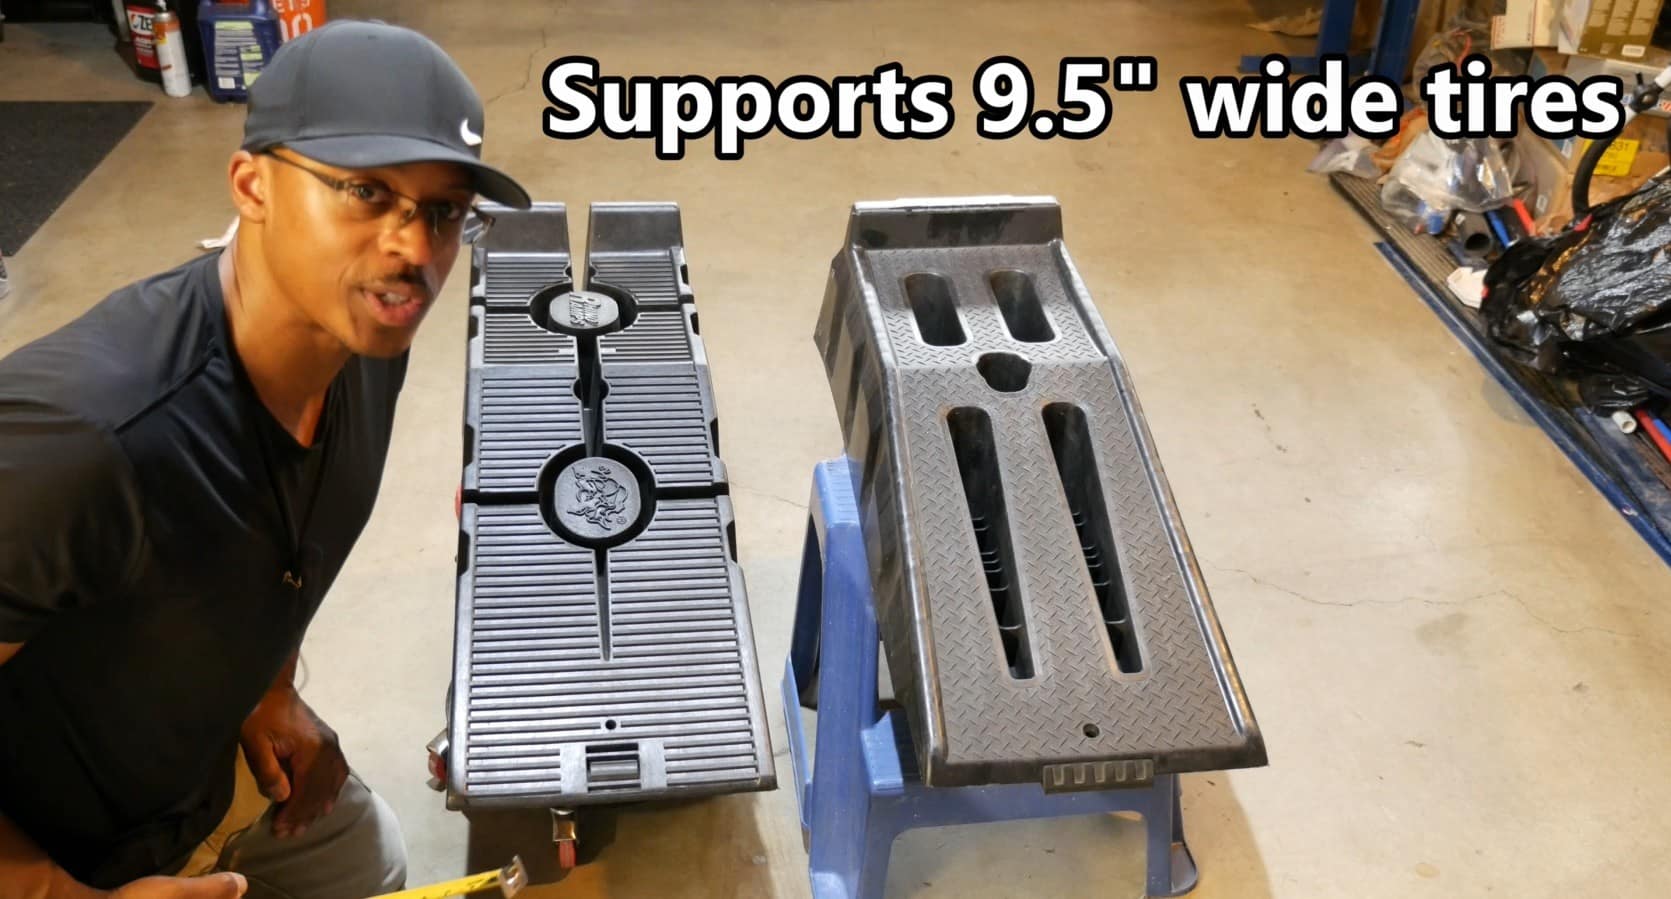
Now, if you look at the width…that was the one thing I noticed with this new ramp…it looks a little more narrow than my old ramp. So, I’ve got my tape measure here and what I’m going to do is measure the width here. We’ve got roughly about 9-1/4” on that one and then this one looks like it’s bordering on 10”…9-3/4”…somewhere in that area. So, that was a little bit odd to me that they would make the new one a little more narrow than the old one.
Right here in the front you can see they have feet on him, and that’s to keep the ramp from sliding. This one has a much bigger foot on it, whereas you can see this one is pretty small. So, we’re going to do a little bit of a test later on of this foot, too. I’m really curious about how this foot really performs and how it will keep the ramp stationary.
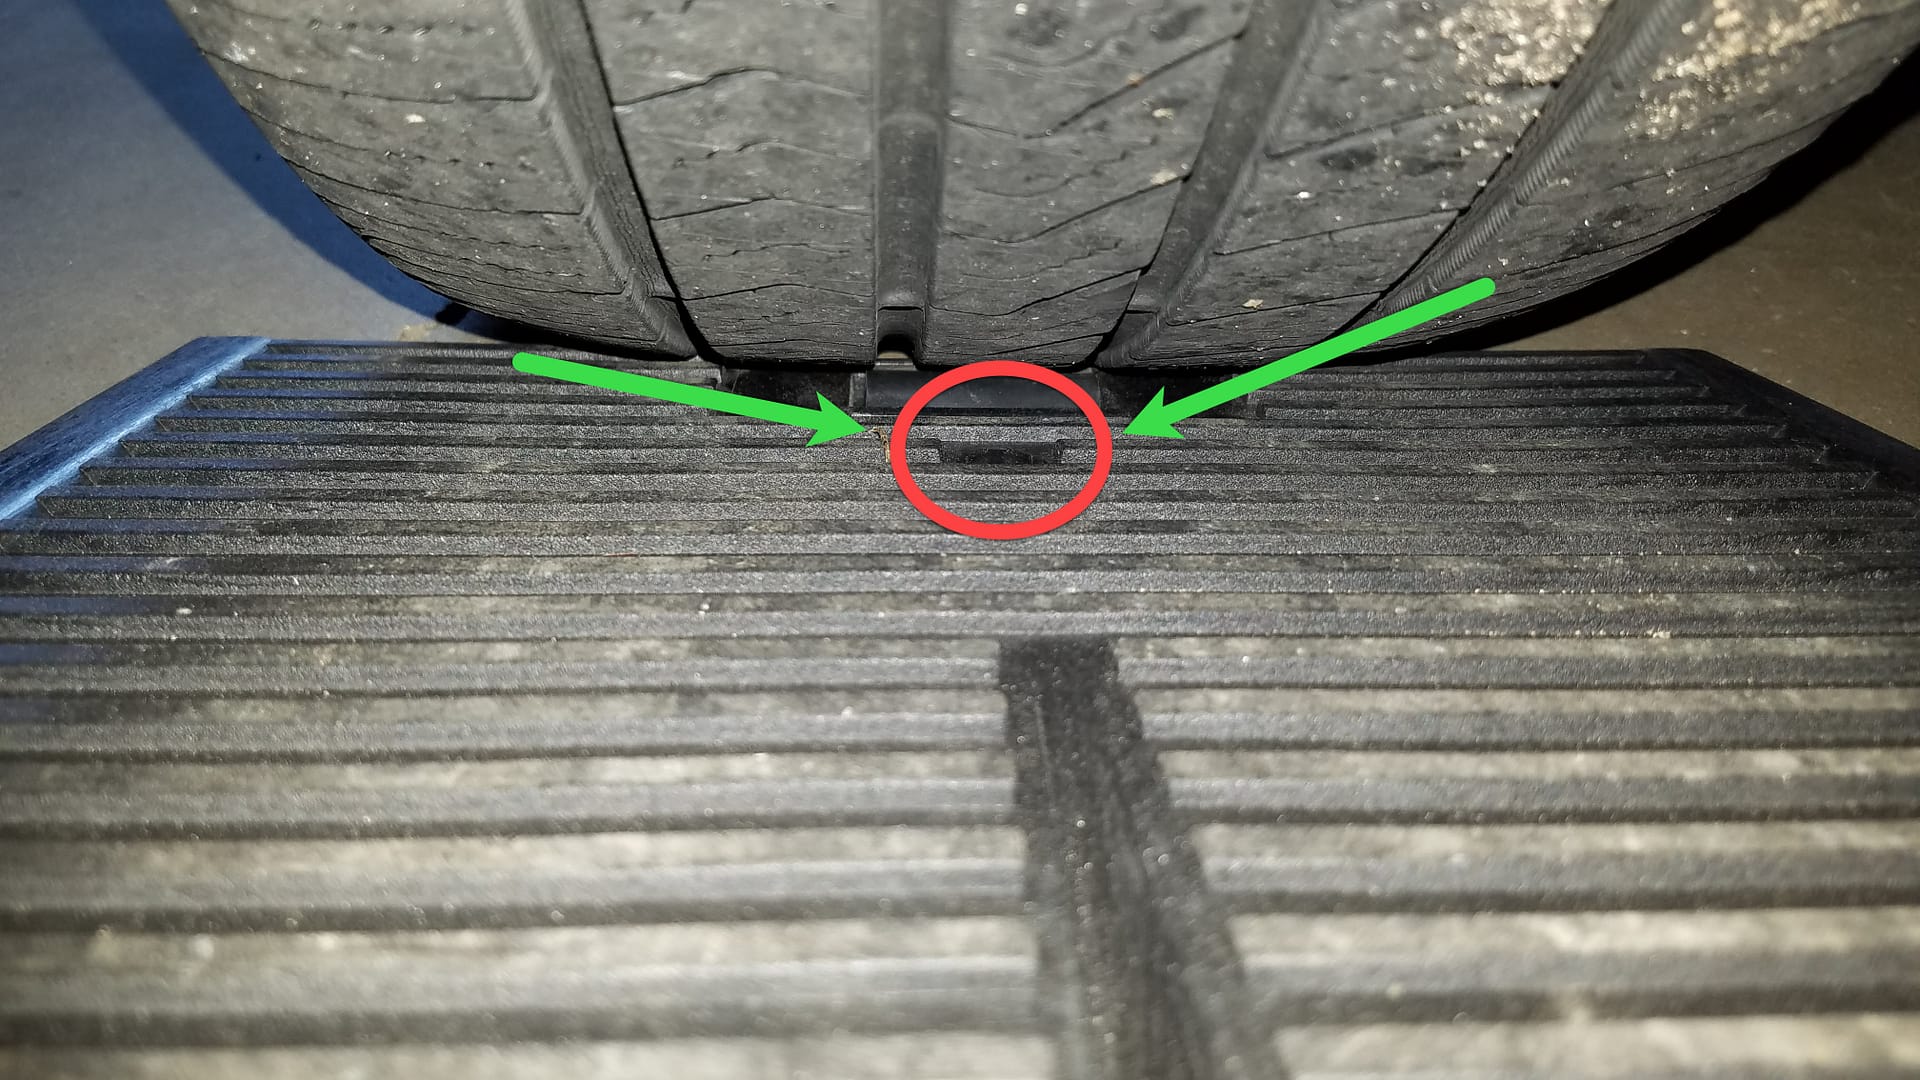
We’ve got this dot on the front on both ramps for centering your tire on the ramps.
So, this ramp here has cutouts on the side…you’ve got one there…you’ve got one over there and then two more on the back. The old one ramp just has the one cutout on the back.

In terms of weight after just picking both these ramps up, this one weighs about 9.6 pounds…which it doesn’t even feel like 9.6 pounds, so it’s pretty light…and this one is a little bit heavy. I’m not sure exactly the weight on this one, but it’s definitely heavier than the new ramp.

This is the warning label on the side of the ramps, and I would definitely recommend you take some time out and read through this warning label…there’s a lot of good information here, and you want to make sure you’re using the ramps appropriately, especially when you’re talking about working with the vehicle that weighs anywhere from 3000 pounds up. So, definitely make sure you take some time out and read through this so that you use the ramps correctly.

Alright, so what I’m doing here is a little bit of a grip test on these feet. So, the foot on the front here and the foot on the front there…and what I’m going to do, basically, is just put my foot up here about 8 inches up the ramp and push out as hard as I can to see how far it goes.
I’ll start with the one on the right-hand side first…OK, that one barely moves.
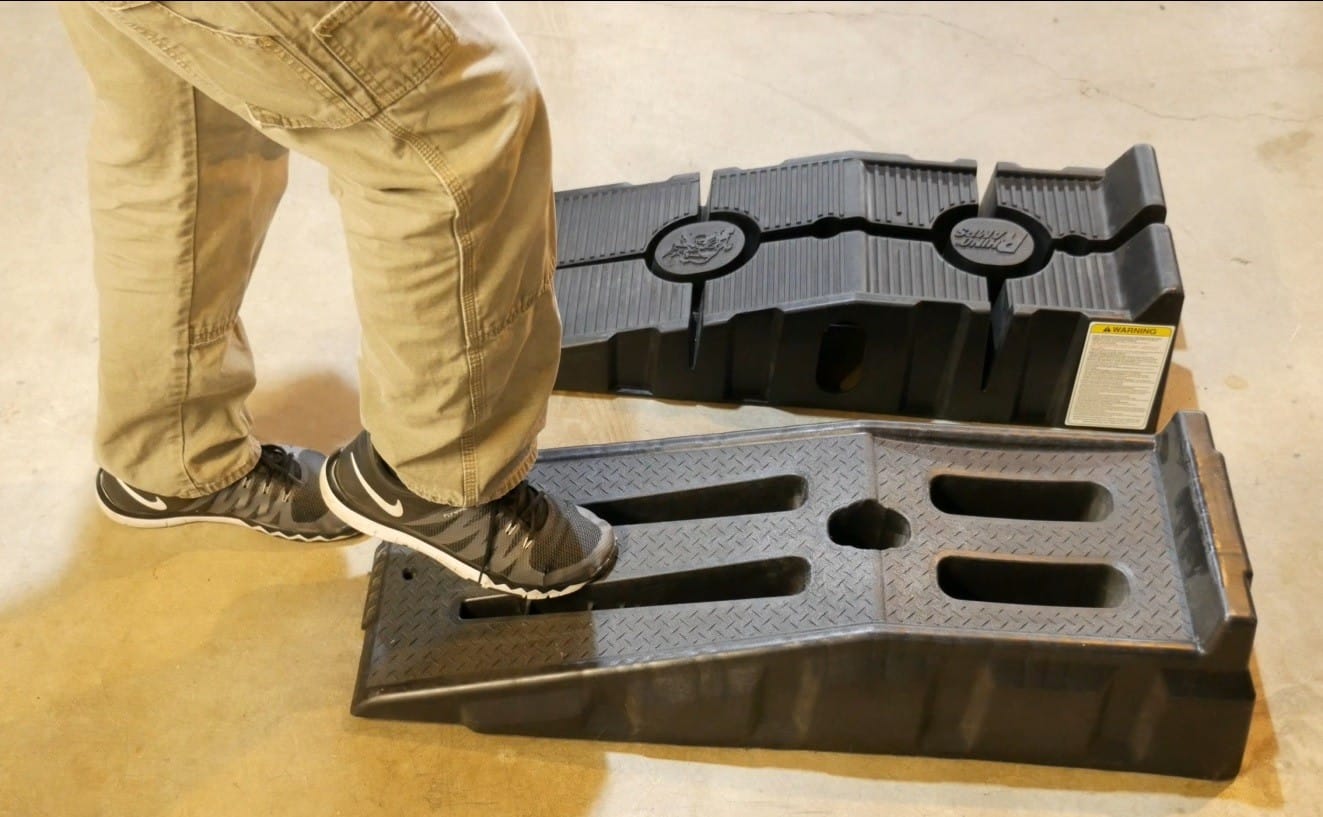
I’ll move to the new one now and do the same thing. Alright, so really not much grip with this one on the left-hand side…that’s a little bit disappointing.
Alright, so there you have it…the Rhino Ramps 11909…the 12,000 pound version, and so far after 3 years, there are no signs of any damage anywhere, no collapsing or cracking, so that’s definitely a good thing.

The one thing I would say about these ramps is that if I had a heavy-duty vehicle, I personally would go to the 16,000-lb. version…the 11912…but these should work in a lot of instances…that’s just my own personal preference for a little extra security.
Stay tuned for the end of the video where I summarize my thoughts on these ramps and give them a DIY Apprentice wrench rating.
Rhino Ramps Demo
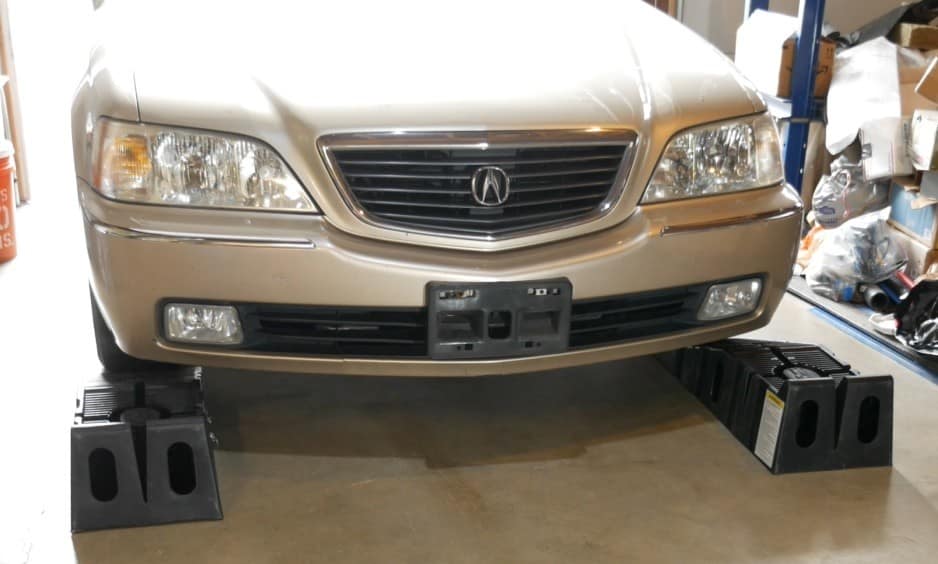
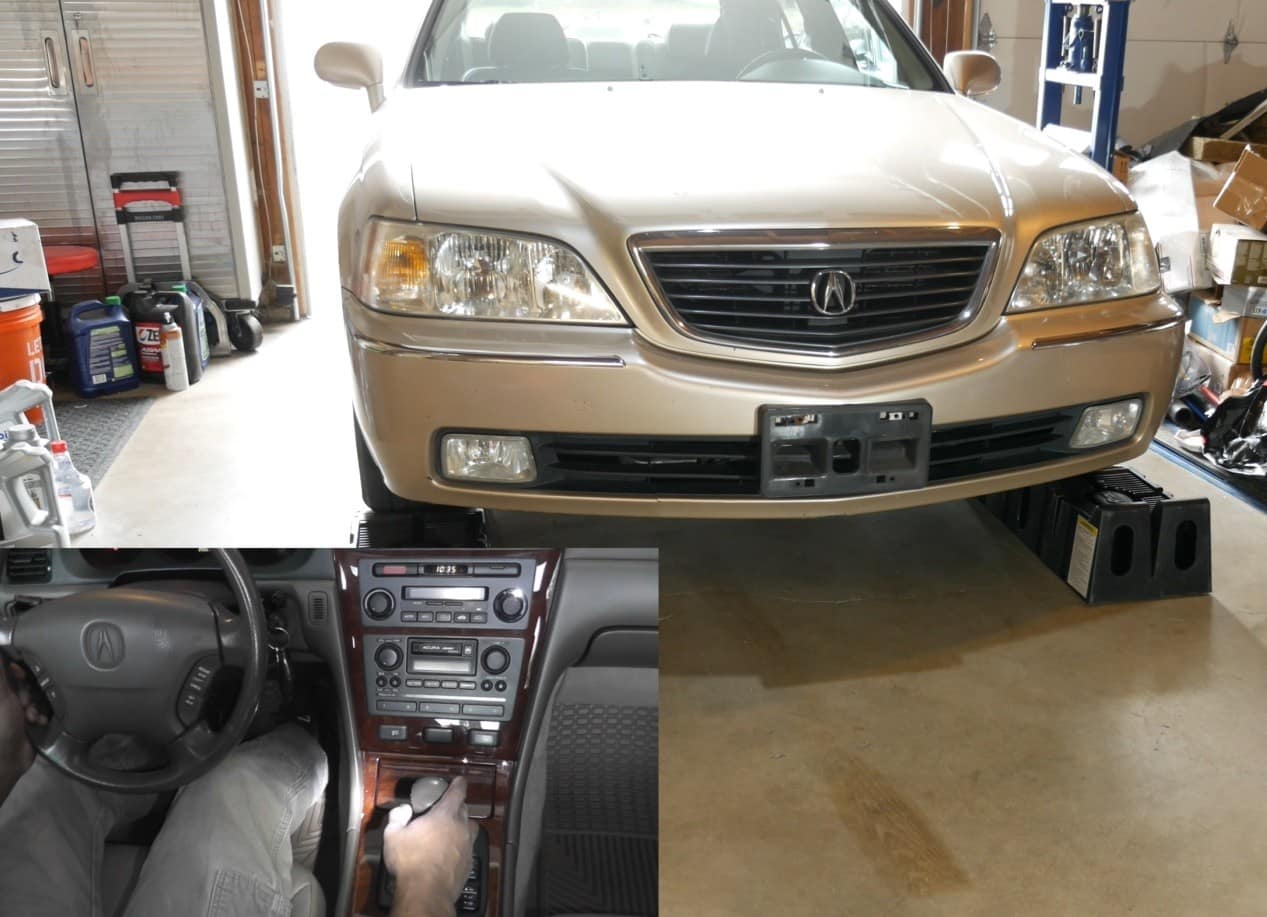
Alright, so let’s do a quick demo of these ramps using my 3800-pound Acura RL as the guinea pig. So what I’ve done here first is positioned the car with the front wheels pointed straight ahead and with plenty of space in front of the car so I don’t run into a wall or run into a cabinet.


Next, I slide the ramps into place under the front tires…and I like to wedge the ramps into place so there’s less of a chance that they’ll move. I also center the dot on the ramps on the tires.
With ramps in position, I hop in the car and start it…and then keeping my foot on the break, I shift the car into Drive and disengage the parking brake. I then carefully and gradually drive up the ramps.
Once I reach the saddle at the top of ramps, I gently break. Then with my foot still on the break, I apply the parking brake and shift the car into Park.
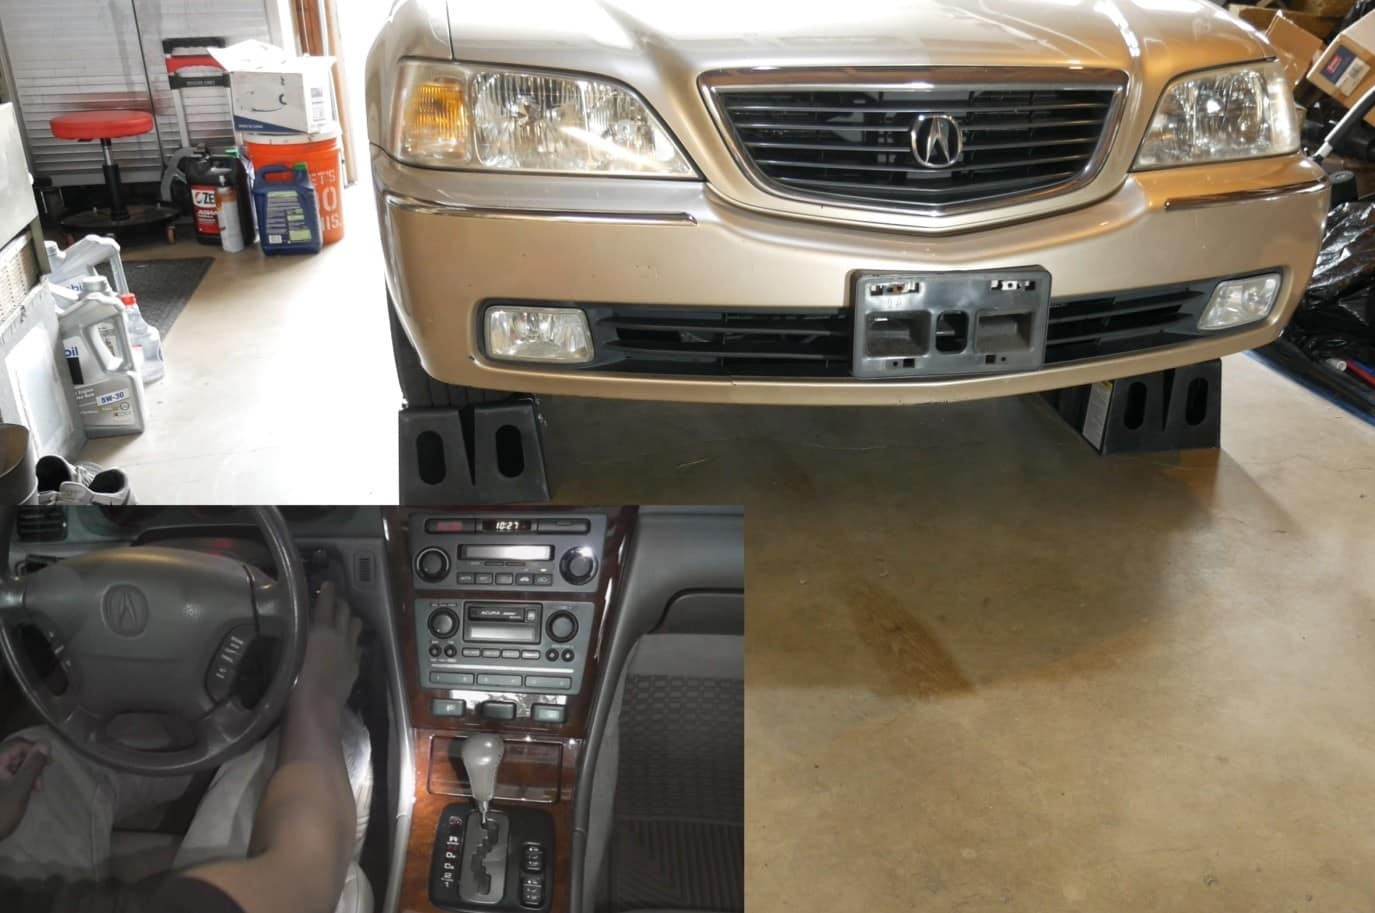
The last thing to do here is to place wheel chocks behind the rear wheels (I put them on both sides of the wheels – not necessary).

OK, so let’s reverse the action here and get the car off the ramps. So, the first thing I’m going to do here is remove the wheel chocks. Next, I hop back into the car and start it, then keeping my foot on the break, I shift the car into reverse and release the parking brake.
Now, to back the car off the ramps, in most cases, the cars momentum will do the work for you. So, I keep my foot on the brake and slowly allow the car to back itself down the ramps. Otherwise, it may be necessary to give the car just a little bit of gas to get it moving.

Final Thoughts
On the DIY Apprentice wrench rating scale, I’m gonna give these ramps a 4 out of 5. The 12,000-lb gross vehicle weight rating for plastic ramps is very impressive. It seems like they put some thought into making these ramps by adding relief cuts to allow the ramps to flex a little bit…and I also like the angle of incline, which is perfect for most vehicles. The one negative that’s stood out obviously is a lack of grip by the foot on the front of the ramps. Overall, these are very reliable ramps, and I’ve used them for the last 3 years without any issues.